3 Step by Step Guides
Back when we bought our first reusable masks, it seemed like we’d soon be back to business as usual.
Months have passed, however, and wearing a mask has now become second nature; here at Trtl, we have one stashed in every jacket pocket, and a couple in the glove compartment for good measure.
We’ve learned, perhaps unsurprisingly, that single-use masks are a scourge on the environment and reusable versions are the way forward; but what happens when you’re caught out at home and you’ve misplaced your multi-use mask?
1. For Beginners: No Sew Sock
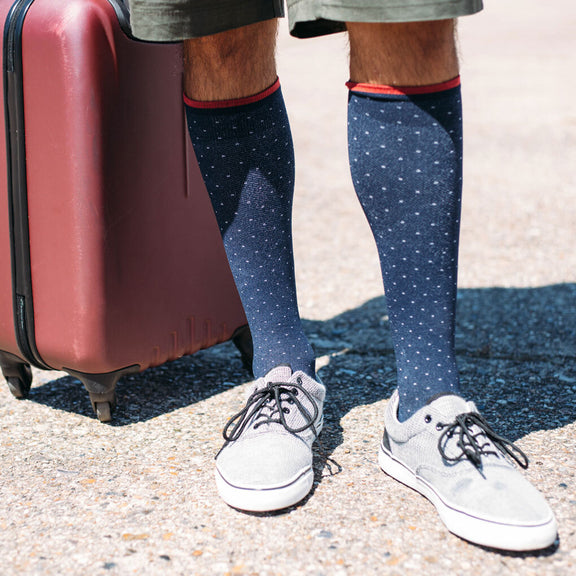
1. Flatten your sock out and then, measuring a couple of inches from the end, cut off the toe.
2. Next, use the scissors to cut a straight line along the top of the sock, from the ankle area down towards the recently-removed toe.
3. Fold the sock in half, with the ankle seam at the edge. Now you’re going to make the ear loops. The heel of the sock will form the part of the mask where your nose goes, so you’ll need to put the loops on the other end.
Taking your folded sock, measure about 1cm inwards from the edge opposite the heel, and make a 1cm slit. When you unfold the sock, you’ll be able to see the mask shape. Watch the video for visuals.
We recommend using a new, fairly good quality sock for this one (there’s nothing worse than a ladder in your sock mask), but of course, whatever you have at home will work.
2. For Intermediate Sewers: Plate
1. Fold your fabric in half. Take a plate (25-28cm diameter is recommended for adults) and use it to draw and cut out a circle from the cotton.
2. Fold the cotton circle in half, then half again, and cut along the edges so you’re left with quarters. Place two quarters together, right side up, and sew around the curved edges.
3. Once you’ve sewn the edges of both pairs, place these right side together and sew around the edges, leaving a little gap so you can turn them inside out.
4. After you’ve sewn both sides together and turned the mask right-side out, give it a quick iron.
Fold about 1.5cm worth of fabric from the edge, iron, and then sew along it — this will be where you loop the elastic for your ears.
5. Feed the elastic through the slot and tie it in a knot.
We like this one because it doesn’t require dusting off the sewing machine; the entire mask can be made by hand in less than half an hour (if you’re speedy).
3. Advanced Sewers: Pleated, 3-Layer
1. Take three 16 x 23cm pieces of fabric: one in tightly woven cotton, another in flannel, and a third in a soft cotton (this will be the lining, so make sure it’s comfortable enough to go beside your face).
2. Place your flannel and tightly woven cotton together, right side up, and tack a loop of elastic around 2cm from the top and bottom, on either side. Then put your lining fabric right side down on top, and re-pin, making sure you don’t lose the elastic.
3. Sew the three pieces of fabric and elastic together with an 0.5cm seam allowance. Leave a gap of about 4cm at one side.
4. Turn your mask right-side out and give it a once over with the iron. Next, create three pleats, lengthways across it, and iron them down.
5. Back to the sewing machine. Again, sew around the edge, closing up the gap you used to turn the mask right-side out and sewing in the pleats.
Though it’s billed as taking no time at all, this mask does require some sewing know-how to get going. Once it’s done, however, it looks good, and you can rest easy knowing it has some inbuilt protection.


